


Sold Out


Sold Out


Can all car audio systems be converted from single to dual?

What is a single deen?
A single DIN unit is a way to create a full size stereo system with half the space, and at 50mm high it is ideal for those wanting to fit a small additional audio system in their vehicle without the space underneath Sacrifice radio solution. Double Din radios usually consist of a plastic casing with a metal panel on top that contains all the necessary controls.

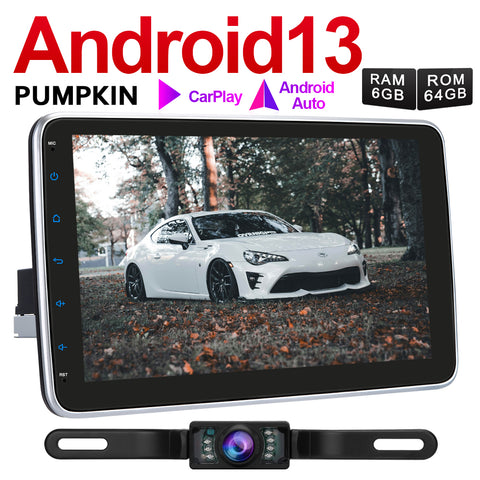
What is Double Din ?
Two drum car radio, in the same housing as the original car stereo, with a width of 100 mm. You can use a dual-tone radio in many vehicles, even if the original stereo you are replacing is not made by the same company. The main difference between an original car radio and a dual din system is that the din unit protrudes through an opening in the car radio . This makes all the controls in your car easily accessible while also giving you more space to install other components in the car if necessary.
Steps to convert a 1 -Din to a 2-Din
Many car audio enthusiasts are interested in converting an existing double DIN to a single DIN. The short answer is: yes, you can. However, it's not easy and there are some caveats. This article will walk you through the process of converting your double DIN into one that only takes up 1/2 the space but still retains all the functionality should you ever want to switch back to a double DIN. We will focus on how to do the conversion without cutting out your stereo or other components or damaging cables/components, which can save time depending on how confident you are with working with electronics.
1. Disconnect the car battery
It would be helpful if you disconnect the battery before removing the stereo to avoid electrical damage to your car. Always disconnect your car's battery in your garage or in an area where you can touch grounded metal. Using an insulated screwdriver, loosen the positive and negative terminals of the battery.
2. Remove the stereo from your vehicle
This should be as easy as taking out your stereo and removing the retaining screws on the sides of your double DIN unit. Pull the old device straight out and place it on a piece of cardboard.
3. Remove your double din from the existing stereo and replace it with a single din unit
Insert a screwdriver as deep as the screws on the right side and pry the two halves of your double din apart. You have to apply a lot of force to each half to pry them apart. When you separate them, you can remove your double din unit by sliding them out of their brackets at the top and bottom of your stereo.
4. Connect the 1 Din device directly to your car's wiring harness
Make sure both units are secure in their brackets to prevent them from falling out when connecting. If necessary, connect your new 1-DIN device directly to your car's wiring harness using cable ties. To do this, connect the larger end of the cable tie to the plus and minus poles of your new 1-DIN. Then wrap it around your wiring harness and through itself to secure it.
5. Put your stereo back in your vehicle and reconnect the battery
You can drop your stereo back into its original location, secure it with the screws that previously held your double DIN in place, replace your negative and positive terminals on the battery and turn it on!